
A Basic Guide to Nail-Up Tin Ceiling Tiles Installation
Tin ceilings have a rich history dating back to the 19th century, when they were introduced as an affordable alternative to the intricate plasterwork found in European homes. These decorative ceilings quickly gained popularity in North America for their elegant designs and practical benefits.
Today, tin ceiling tiles are appreciated not only for their historical charm but also for their durability, fire resistance, and ability to enhance the aesthetic appeal of any room.
Whether you're renovating a historic home or adding a touch of vintage elegance to a modern space, tin ceiling tiles offer a unique blend of beauty and functionality. In this guide, we'll walk you through the process of installing nail-up tin ceiling tiles, providing detailed instructions, tips, and visual aids to ensure your project is a success. Let's get started on transforming your ceiling into a stunning focal point!
Steps to Install a Nail-Up Ceiling Tiles
1. Gather Tools
- Measuring tape
- Chalk line
- Tin snips
- Hammer of nail gun
- Nails (specifically for tin tiles)
- Adhesive (optional)
- Ladder or scaffolding
- Safety glasses and gloves
2. Decide on a Layout
The first goal you should have in any nail-up installation is to design your ideal layout prior to ordering the tiles. This will ensure the partial tiles around the perimeter of the room are balanced and uniform. In almost every situation, the installation will begin in the middle of the ceiling, so you’ll want to make sure that your layout has a definite center point where the rest of the tiles can flow from.
Use a tape measure to determine the ceiling's dimensions and mark the center of the room with a chalk line.
Use this ceiling planner to figure out your layout.
3. Install Furring Strips or Plywood Substrate
Without furring strips or a layer of plywood, the nails won’t have adequate gripping power in mere wallboard or plaster. Our recommendation is to create a furring strip grid along your ceiling since you’ll be attaching the tiles with nails. Not only will furring strips provide a level and supportive structure, but they will also ensure a smooth finish once the tiles are nailed in place.
Use a tape measure, chalk line, and level to determine where your furring strips will go and that they are parallel to the walls of the room.
4. Shim to Create a Flat Nailing Surface
While this won’t be the case for every new build, sometimes ceilings may not be entirely flat. If this is the case for your ceiling, you may need to install wooden shims between the furring strips and the ceiling so that the furring strips are even.
Place your level against the furring strip and place shims until it is level. Then secure the strip and shims before installing the tin tiles.

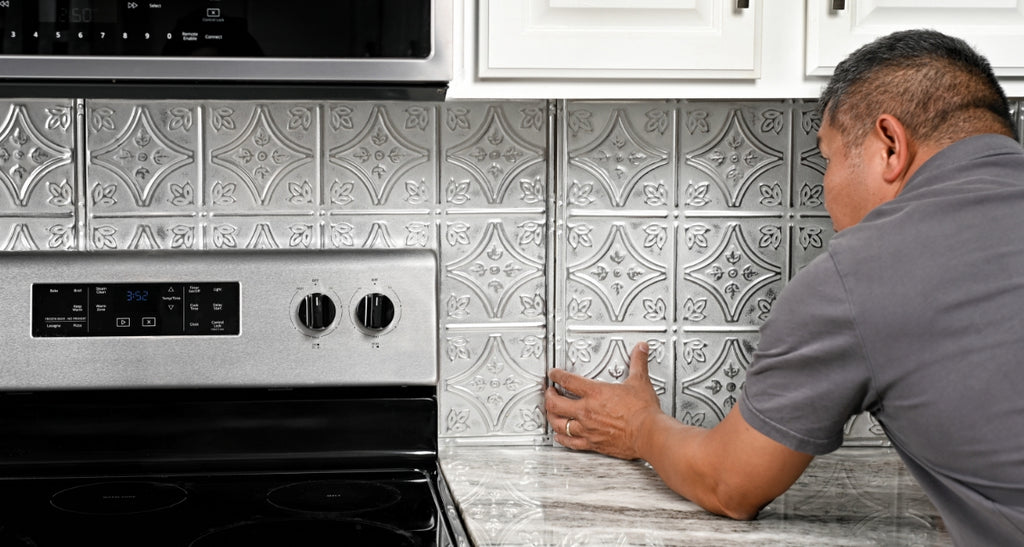
4. Nail Up the Tin Tiles
This part of the job is best completed with two people: one person to hold the tiles in place, and a second person to use a nail gun or hammer to secure the tiles to the ceiling. Make sure the nails are driven through the edges and into the furring strips or plywood.
Use tin snips to cut tin tiles to size as needed around the edges of the installation.
What About Other Kinds of Installation?
When homeowners hear the word "installation" during a remodel, it can make them feel worried and stressed. Some people think that installing tin ceiling tiles is expensive and difficult without professional help. However, it can actually be easier than anticipated.
In fact, there are several easy ways to install tin tiles depending on the material forming the base or background of the new tile feature. Each type of installation requires a slightly different approach and set of tools, but each can be done easily with the right preparation.
To give you more context about the different types, here are two other installation styles of tin ceiling tiles and how they are best installed.
Snap Lock™
Since drywall is so customary on ceilings and walls, our Snap Lock™ tiles readily screw into drywall using 1-¼” screws. The Snap Lock™ technology contains a flange system, so each tile can seamlessly interlock together making for a simple DIY install.

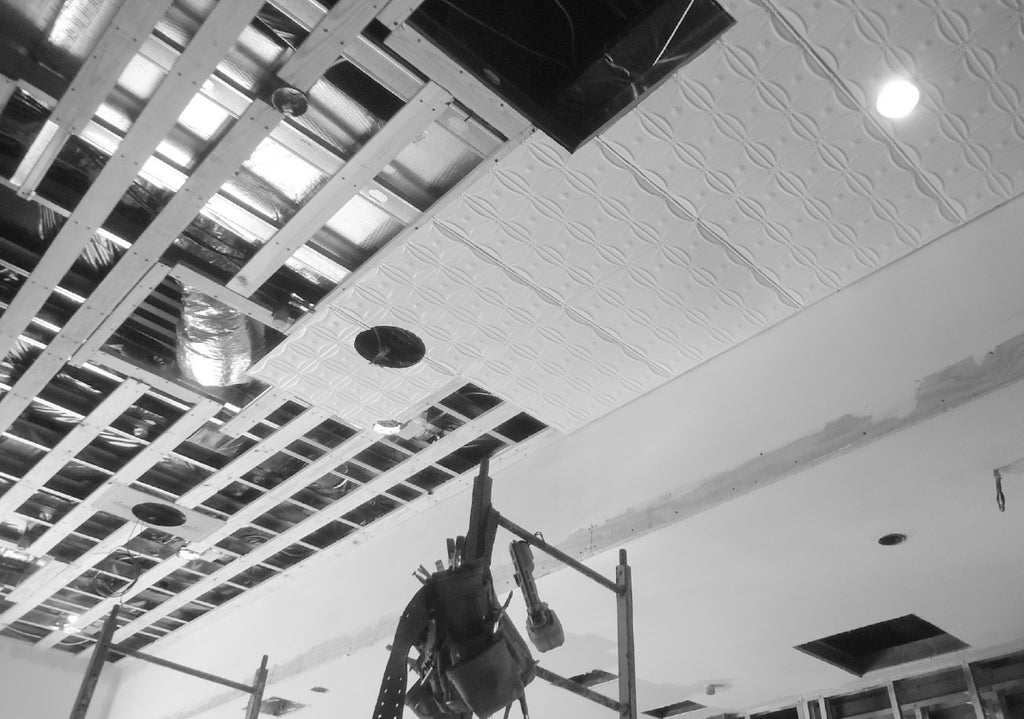
Drop-In
In commercial buildings and basements, ceilings are often suspended and consist of a grid. In spaces like these, installing Drop-In tin tiles is best, as they simply lay on top of the grid. We manufacture a clip that ratchets over the t-bar, which helps to push the tile in place and keep it from moving. Plus, the versatility of a Drop-In tin tile install means you’ll still be able to access electrical wiring.
Have more questions about installing Nail-Up tin tiles? Our expert customer service agents are always ready to offer support and advice.


