
What You Need to Know about Tin Tile Backsplash 6” Patterns
Installing tin tile on the backsplash is a simple project that can change the entire feel of your kitchen. A six inch pattern tin tile is a must have for the kitchen backsplash. Though you may be tempted to try a larger pattern, here’s why tin metal backsplash in 6” is the only way to go.
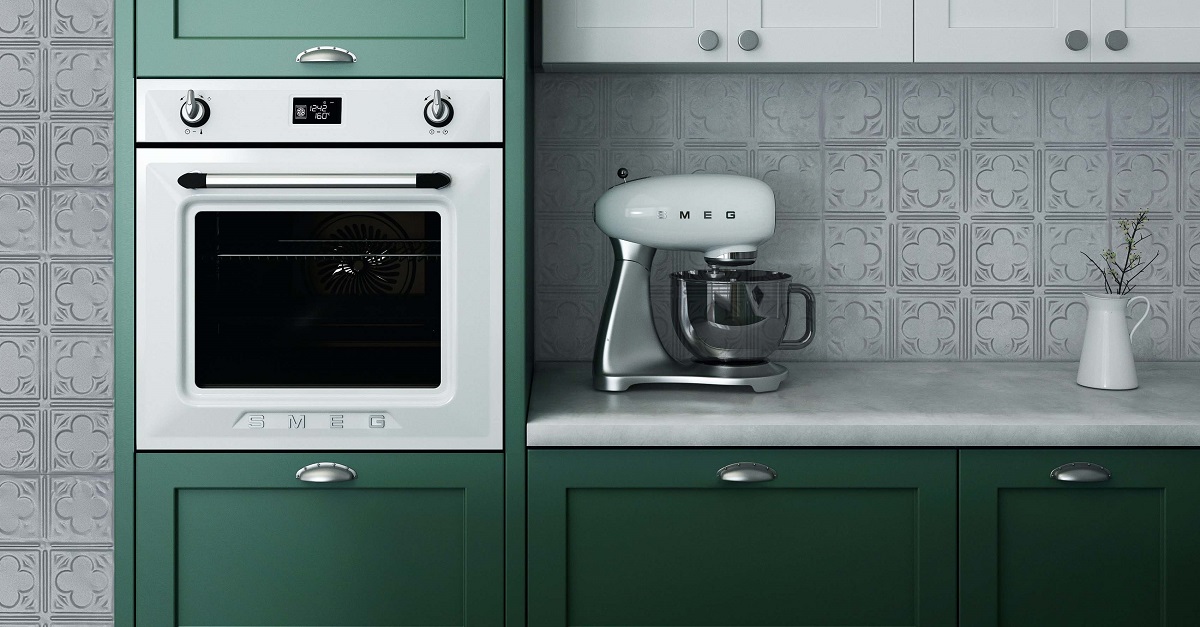
Tin Tile Backsplash 6” Patterns
Kitchen backsplash tin comes in the same size as all other tin panels (2’ x 2’), however, the pattern is smaller and repeats over the panel for an aesthetic that fits better in smaller spaces like the backsplash. At American Tin Ceilings, the backsplash panels repeat the pattern 16 times on the 2’ x 2’ piece of metal. That makes for a tin tile backsplash with 6” patterns.
No matter how tempted you are to use larger patterns (12”, 24”, or larger) on the backsplash, don’t do it. Those big patterns are stunning but in a small space like the backsplash, they can cause issues. First, most backsplashes are about 18 inches, just shy of the 24 inch tin panel. You have to cut the panel to make it fit, which is easy to do, but you also end up cutting off part of the pattern.
Visually, this is problematic because you don’t ever see the entire pattern. A six inch repeating pattern is a smaller pattern that repeats 16 times on the 2’ x 2’ panel. You can cut it off without it looking out of place.
Larger patterns can often make the backsplash look even smaller than it is. A smaller six inch pattern fills the space better and allows you to enjoy the full glory of the pressed tin tile.

Installation
Installing tin tile on the backsplash is easy. All it takes is some measuring, cutting, and adhering. A few tools and a few hours and you can have a whole new backsplash. Installing a tin tile backsplash with 6” repeating pattern is not much different than working with a larger pattern because the backsplash and ceiling panels are all the same size—2’ x 2’. Watch the video below for step-by-step instructions.
Use a construction-grade liquid adhesive like Liquid Nails or Power Grab by Loctite to secure tin tiles to the backsplash. Each panel has a ?” nail rail that overlaps with neighboring panels for tight seams. You can install tin tile panels over other backsplash materials like painted walls or ceramic tiles. If you’re installing over drywall, we recommend using a combination of nails and adhesive to secure the tiles while the adhesive sets up.
For unfinished, exposed edges, add our backsplash edge. To finish corners, use our backsplash corner. Use these pieces over raw edges for a professional finish. You can also order color-matched nails, touch up paint, and switch plates to finish up your backsplash.

Care & Maintenance
Tin tile backsplash behind stove in a 6” pattern protects your kitchen walls exactly the way you need a backsplash to do. The large 2’ x 2’ panels make fewer seams and fewer opportunities for splashes to get through. Finished tiles are powder coated, sealed, and finished to protect from rust, which also makes them easy to clean. All you need to do is clean regularly with a mild detergent to keep your backsplash looking like new.
If you opted for unfinished tiles, we recommend that you paint or clear coat them to prevent oxidation. You can use an oil-based primer and rust inhibitor then a polyurethane to seal it.
The tin tile backsplash with 6” pattern is the perfect addition to your backsplash. You’ll make a stylistic statement while protecting your kitchen. Easy to install, easy to care for, a tin tile backsplash is exactly the solution you’re looking for.
Get more tin kitchen backsplash ideas and check out the hottest backsplash trends this year.


