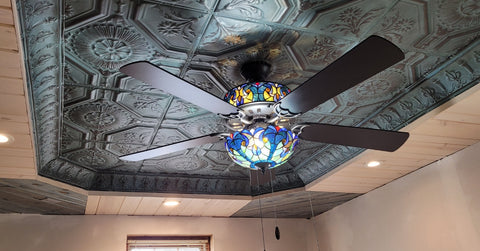
Snap Lock Overview

Snap Lock™ - making tin so easy to install it's a snap. The official tagline says it all- requiring no plywood or any kind of wood, simply screw each tin tile straight into your drywall or popcorn ceiling. Each piece interlocks through our patented flange system. The 2' x 2' panels are intended for easy DIY home projects that even the most layman can figure out to create beautiful designs that compliment the style of any room. Snap Lock™ tiles are available for ceiling installations (not backsplashes). Choose from 33 patterns in over 80 color choices and finishes from artisan whites to brick, mochas and brushed metals to create a uniquely envious space.


How it Works
The Snap Lock™ system works through flanges, the external rims or lips of the tile where the weight is more heavily focused. The rails are ridged so they can connect pieces together to create the look of one cohesive unit.
Snap Lock™ Installation
Installation of Snap Lock™ panels are a breeze if you follow our expert tips and tricks. Start from one corner and work your way across to the opposite wall or corner. You may want to do one vertical or horizontal strip at a time so you can ensure they are aligned straight and flush against the wall. It is important to note that due to the construction of the tin, the panels will not fit completely against one another so don't try to force them. Make sure you always screw the plate on the female flange and leave a 1/16” gap between the tiles to compensate for this. Draw chalk lines for all the remaining rows to keep the pattern neat and orderly. If you intend to install a border around the trim, make sure you leave enough space for it ahead of time. Crown molding and fillers are a popular choice to hide gaps and excess perimeter pieces.


